Saturday, April 30, 2011

Kids Craft: Sandpaper Castles

image credit
Sand and surf are icons of summer fun and relaxation.  But if you are inlanders like us, regular beach trips just aren't possible.  Though I have wistful memories of visits to the sandy shores of faraway places like Oregon, Vietnam, Thailand, and the Gulf Coast, my children unfortunately do not...yet.  If you live near a lovely wave-swept beach, count yourself blessed!

Nevertheless, crafting with sandpaper is possible almost anywhere.  These longer lasting sandpaper castles can be an outdoor or indoor craft.  Either way, castle builders might enjoy sporting swimsuits during the construction process.

Teaching Point: Earth Science
Along with constructing and decorating the sand castles, kids can learn about how sand forms.  Collect some different kinds of rocks and have kids rub two rocks together over a piece of paper.  Bits of softer rock should fall onto the paper, demonstrating how grains of sand are formed over time.  I know my kids enjoyed such a fun geology lesson, as will yours!
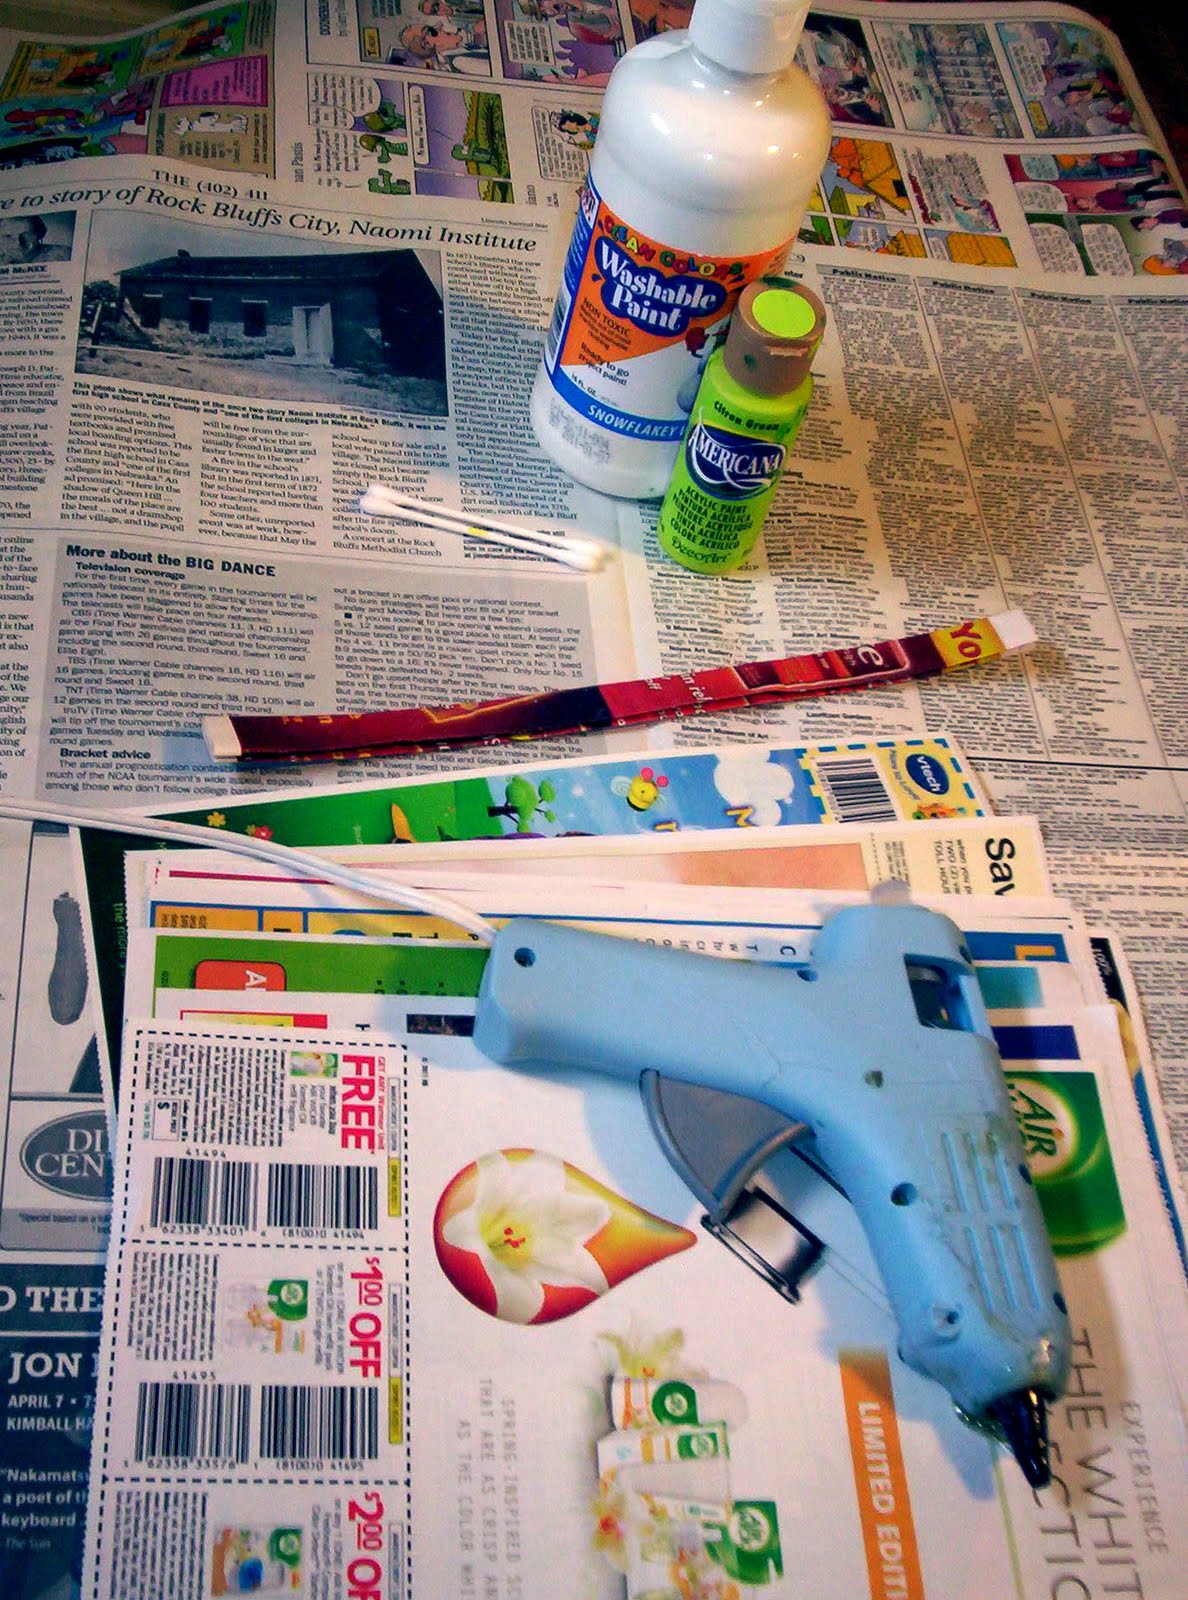
Materials:

  • Sandpaper sheets (we bought a variety pack for $1 at Dollar Tree)
  • Cups (washed and reused)
  • Cardboard beverage holder, optional
  • Cardboard tube from paper towels, optional
  • School glue or hot glue
  • Rubber bands, optional
  • Old scissors (since blades will get a little damaged from the sandpaper grit)
  • Decorations - such as shells, plastic gems, stones, foam stickers, etc.
  • Chalk, optional
  • Assorted rocks (preferably of varying hardnesses)
  • Paper
Directions:
  1. Wrap sandpaper around cups and secure with glue and rubber band or hot glue.  Allow glue to dry.
  2. Trim sandpaper and cut decorative square borders if desired.
  3. Decorate castles by gluing on shells, gems, and other found objects.  Add more color and details with chalk if desired.
  4. Optional: Show how sand grains are formed by rubbing various rocks together over paper.

Thursday, April 28, 2011

DIY Spring Tune-up for the Lawnmower

Maybe it's because I've always been a tomboy, but I love the idea of being able to fix things.  But to know how to perform maintenance on an engine, even a small engine like a lawnmower, one has to be taught.  And my husband is way too busy at the end of this semester to do that.  This is why I offered to take our mower in to a shop for a spring tune-up.

Can you guess how much a lawnmower tune-up costs, though?  I would think around $25 to $30 for a simple little engine would be fair.  But I was wrong.  Try double that.  And that's just for labor, not parts!  Oh, and there's a one to four week wait time.  Well, while I've been procrastinating finding all this information out, our front yard has been drinking in lots of rain and sunshine and looks like this:


In another week, I am sure my girls would love to dress up and pretend they are Laura and Mary in Little House on the Prairie.  But our neighbors and a city ordinance would likely object.  It was past time for an intervention.


However, to get to this point, our little 148cc mower needed an oil change and a little TLC.  So I sought expert advice from YouTube and Lowe's.  (Later, I realized the guy in the video sounds just like Troy McClure in the Simpsons.)  Anyway, with my confidence and knowledge boosted, I picked up the items I needed from the hardware store.  Cost for oil and a spark plug: $6.98 plus tax.

And I am happy to report that after following "Troy's" instructions, I completed the tune-up and started the lawnmower on the second attempt.  We now have a mowed front yard.   And while it felt good to have gained a new skill, I still have to resist the temptation to covet a pollution-free reel mower.

Instead I simply need to want what I have.


After mowing the very thick front lawn, I breathe a sigh of relieved satisfaction.

Wednesday, April 20, 2011

Watercolor Cross Cards for Easter

We enjoyed making these simple hand-painted cards
as we remember the cross of Jesus this week.

MATERIALS LIST:

  • Paper
  • Scissors
  • Painter's tape (or masking tape)
  • Paints (we used watercolors)
  • Paintbrushes


Directions:  
  1. Cut the tape and stick on the paper to form a cross.
  2. Paint around the cross.
  3. Remove tape carefully and allow paint to dry.


I'm sharing our project at Kids Get Crafty and the Strut Your Stuff Link Party this week.

Thursday, April 14, 2011

Recycled Newspaper Easter Baskets


If bowls can be made out of magazine pages, why not make baskets for Easter?  Even kids can help fold the paper before an adult carefully glues the pieces together.  The small version of these eco-friendly Easter baskets can be completed in less than an hour (not including drying time).   Furthermore, it's the kind of simple project that can be done while you are watching T.V. or listening to a radio program.


MATERIALS LIST:
  • Newspaper inserts (e.g. uncut coupon inserts)
  • Hot glue gun
  • Hot glue sticks
  • Non-toxic paint, optional
  • Paint brushes or cotton swabs for painting, optional
  • Newspaper strips for paper mache, optional
  • Flour and water paper mache paste, optional


Directions:

1.  Fold a single sheet of a newspaper insert in half lengthwise.  Then continue to fold each side in half or thirds again until you have a symmetrically folded strip that is the width you desire.  Most of our strips were about 1 centimeter wide.

 2.  Next, roll the strip up into tight concentric circles and secure with a thin line of hot glue as you go.  Be extremely careful not to burn your fingers!

3.  Continue to add and glue more folded strips until you form the desired size of bowl.  Then, take another strip and glue on a handle.  For larger baskets you will need to glue together two folded strips to make a handle.  I also wrapped another couple of strips around the main handle for strength and a spiral decorative effect.

Bigger baskets take at least an hour to construct.
This smaller basket was made from 10 insert sheets.


4.  OPTIONAL: Add paper mache and/or paint your baskets and let them dry.  Add ribbons when finished if you like.

5.  Fill baskets with eggs, candy, or healthy snacks (if you are anti-candy like me).


For more ideas on how to be resourceful with newspapers,

Going Local at Tastee Inn & Out


Update: If you live locally, you can grab a Groupon deal for Tastee Inn today! 

For the first year or so we lived in our neighborhood, I would pass by an old 50's-era drive-in restaurant with it's vintage sign unlit.  The chipping paint seemed to indicate that the place had closed down years ago.  But this was not so, a friend informed me.  My foodie curiosity was piqued.  Was this apparent dive actually a hidden local gem?  I decided to be adventurous and find out. 


It's not your average chain restaurant decor...
If you like onion rings, try the onion chips with creamy dip.
A Tastee sandwich is made from loose ground beef and comes with mustard and a pickle.

The "tastee" sandwiches we sampled were indeed unique.  I would call them one-of-a-kind even.  The sandwiches (but not the hot dogs) are clearly the reason this no frills establishment has stayed in business.  I am already plotting when I might return for another taste.


Disclosure: This review was written before I knew about the Groupon deal today.  All opinions are my own.  This post contains referral links for Groupon.  I will receive compensation if you purchase a Groupon through the links above. 

Thursday, April 7, 2011

Upcycled Milk Carton Organizer for Kids' Shoes

Finally, a place for everything...


MATERIALS LIST:


  • Clean and dry milk and/or juice cartons (64-ounce size)
  • Sharp, sturdy scissors
  • Clear packing tape
  • Brown paper grocery sack
  • Assorted colors of child-safe paint
  • Assorted paint brushes
  • Fresh leaves, optional


STEP 1: Trim juice and milk cartons and tape together.
STEP 2: Cut, fold, and tape a brown paper grocery sack over the cartons.


STEP 3: Spread newspaper underneath (and remove shoes) before starting to paint.


STEP 4: Paint with a brush.

Or paint with a leaf.

{This was the biggest leaf we could find in early spring.}

Or paint with a sponge brush (which my three-year-old liked best).

Have fun mixing paint colors together.
After paint is dry, place shoes in slots.  Secure dry paper with more tape if desired. 

Linking up to Kids Get Crafty, WFMW, and Link Party Thursday.