New discoveries awaited us on our 6,000 mile road trip last month. Our trip covered the states of North Dakota, Minnesota, Wisconsin, Illinois, Indiana, Ohio, Missouri, Oklahoma, Kansas, Iowa, and a brief jaunt to Ontario (to sign real estate papers). We certainly experienced America afresh, since we had become accustomed to the flatter landscape and fewer options where we live in Saskatchewan.
After crossing the border into North Dakota, the kids loved mixing their own soft drinks with the new custom soda machines at restaurants. Peach Sprite was their top pick. We also discovered how challenging it can be to find accommodations for a family of six. The mid-range motels often worked best for us because we could get a suite for less than the cost of two rooms. Maybe some day we will take on the challenge of camping, but our childhood memories tell us to proceed with caution.
As we made our way across the midwest, we enjoyed seeing some of the World Cup soccer matches. I was impressed to encounter so many soccer fans in Columbus, Ohio. Unfortunately it was difficult to find radio broadcasts of this worldwide sports phenomenon when we were in the minivan (which was a lot). Do Americans really love baseball so much? I guess I was oblivious.
Takeaway #1: Carry Protein
One practical thing that worked well for us was buying high-quality meat jerky as a protein snack on the road. It helped us make it beyond the next highway exit when we wanted more options for where to stop and eat. Being the exotic meat aficionado that he is, my husband bought kangaroo, ostrich, bison, and venison jerkies. No Slim Jims for us.
Takeaway #2: Think Inside the Box
While searching a big box store for a travel container for baby wipes, I was astonished to find that a zippered case travel wipe pack cost nearly four dollars ($3.77 I believe it was)! Nope, not gonna do that. But I needed a container that would find in my purse--without robbing me of so much cash. It took time to search and ponder what to do, but I settled on a refillable green plastic soap case that cost less than a dollar. It served us well throughout the trip!
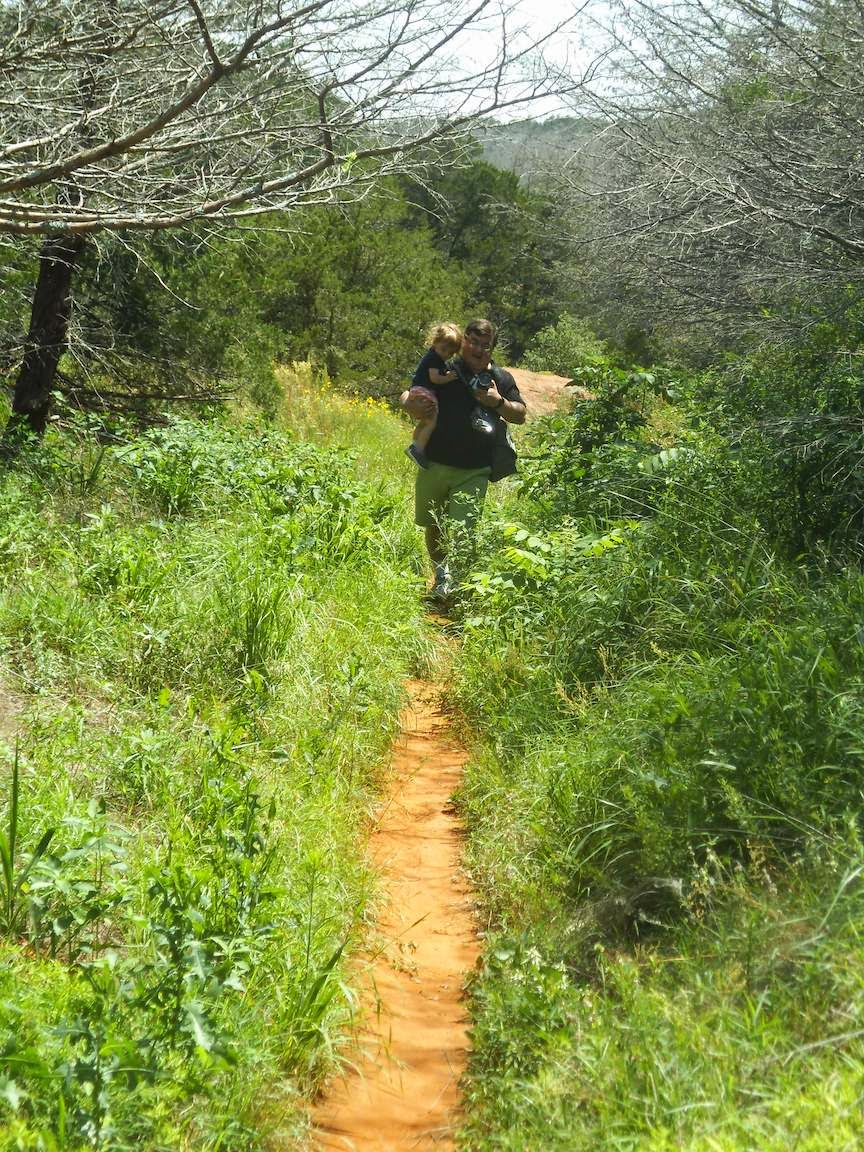
Takeaway #3: State Parks are Worth Exploring
En route to my parents in Oklahoma, we thought it would be fun to stop at one of Missouri's caves. We avoided the steeper prices at the caves you see advertised on billboards. Instead, we had a wonderful tour of Fisher's Cave, which was less flashy and more scientific. Just what we wanted. As an added bonus, the motel at Meramac State Park offered us a more affordable (spartan) room that slept six. Getting off the interstate a few miles was definitely worth it for us.
In Oklahoma, we visited a park I remembered enjoying as a girl with my parents, Red Rock Canyon. Even my two-year-old now has memories of our adventures hiking and swimming there. I am so glad we went, and thankful that the weather was not too hot to consider spending time outdoors.
Upon Reflection
We were thankful to connect with family and friends we had not been able to visit in three years, and many got to meet our youngest daughter for the first time. What's more, we celebrated a golden wedding anniversary for my parents-in-law and the wedding of our oldest niece. It was an important trip, but not a vacation per se.
My husband and I returned to Canada feeling like we needed to get away more often. Even if it's just to the nearest larger city in our our province. Refreshment needs to happen. We got a taste of it at
family camp in May, which was helpful. But we are nearing the end of summer wishing for more.
What do you consider to be the difference between a trip and a vacation for you?
This post may be linked here.